
Extract the IPA
After signing the protected archive, the application can be exported to IPA format for local distribution.
This step is not required if the application is intended for distribution via Apple AppStore.
The IPA can be created using Xcode command line tools or using Xcode Organizer.
The IPA must be extracted using the same version of Xcode as was used for building the original XCarchive.
Using Command Line Tools
The IPA can be exported using the following command:
$ xcodebuild -exportArchive -archivePath <archive> -exportOptionsPlist ExportOptions.plist -exportPath <path>
Where:
<archive> is the full path to the archive
ExportOptions.plist is a plist file with export options
<path> is the output folder where the IPA will be placed.
Using XCode Organizer
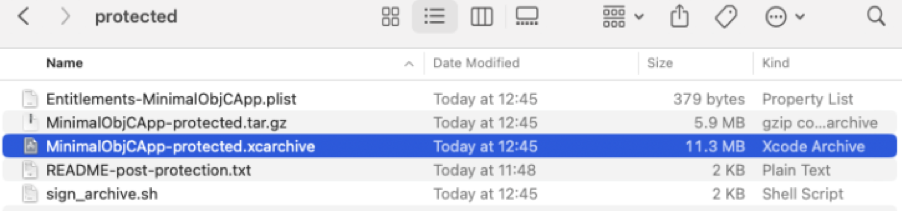
Locate the protected XCarchive using the Finder app and double-click.
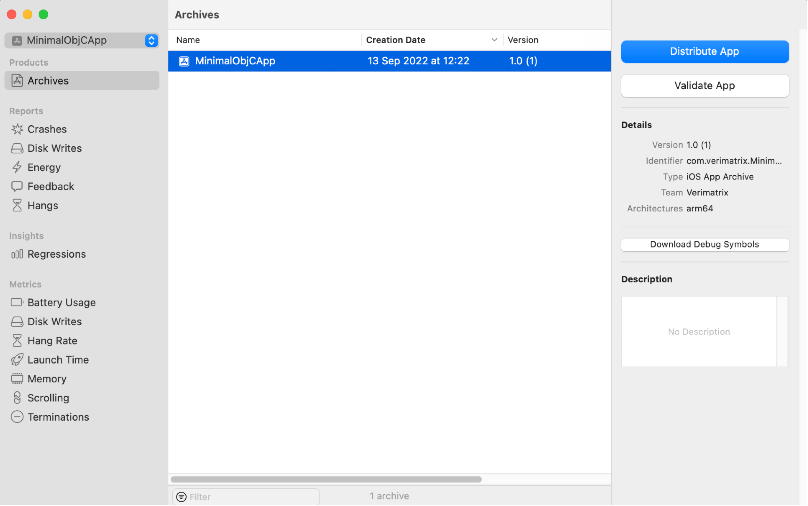
Once Xcode Organiser opens, press the Distribute App button.
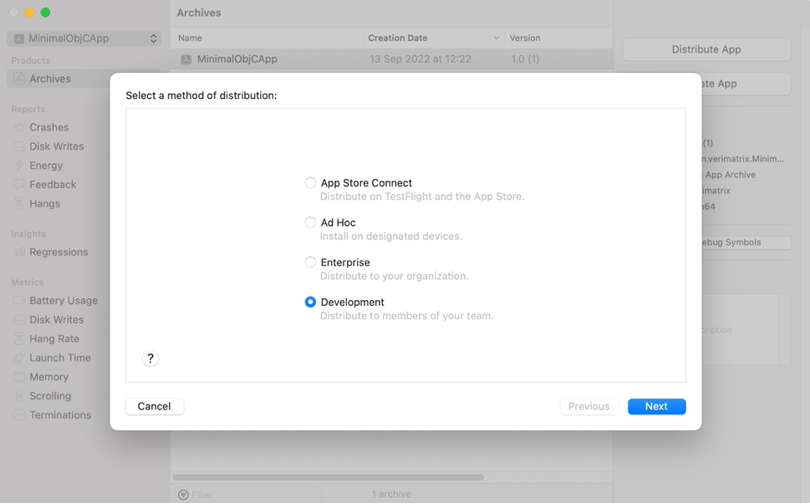
For local testing, select the Development option.
Leave the development distribution options at their default values.
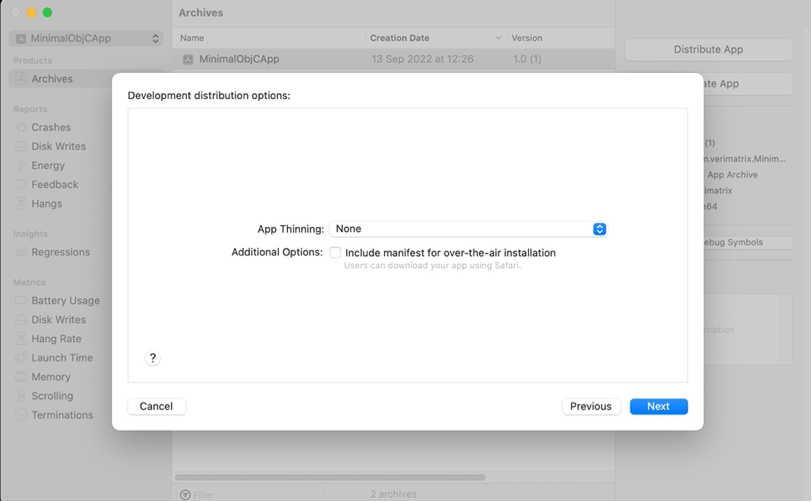
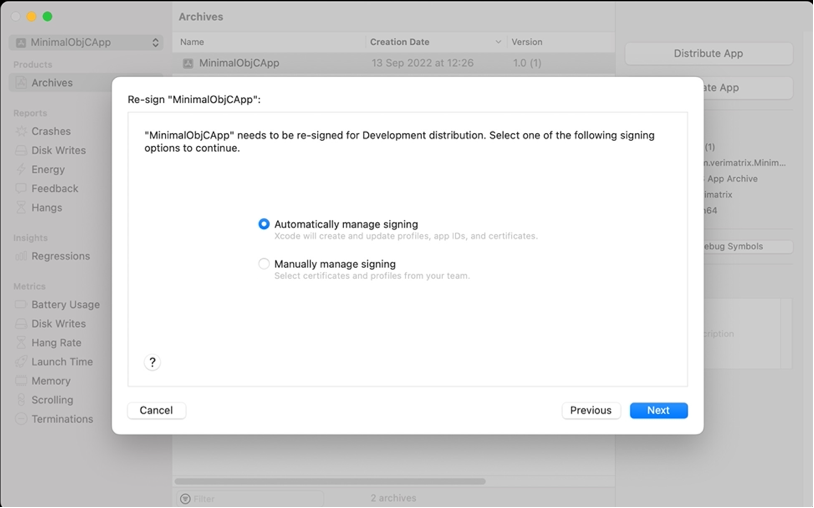
Select Automatically manage signing
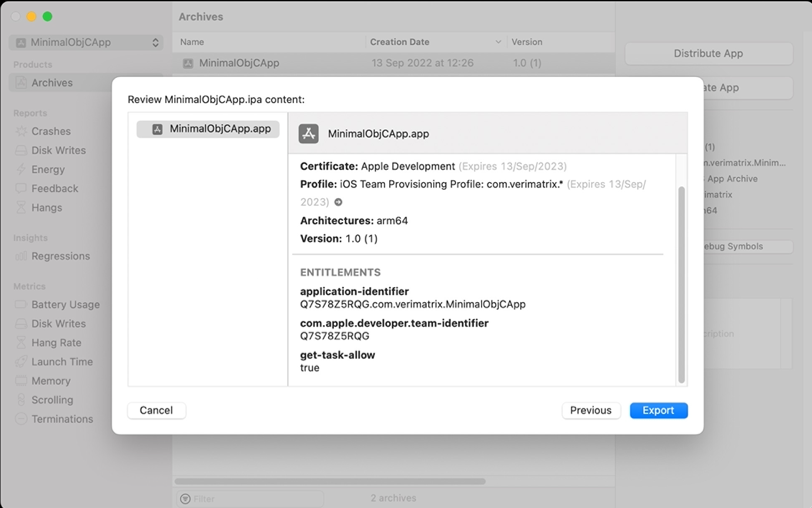
When the app has finished processing (this might take some time), export the app by pressing the ‘Export’ button. This will generate the IPA file.
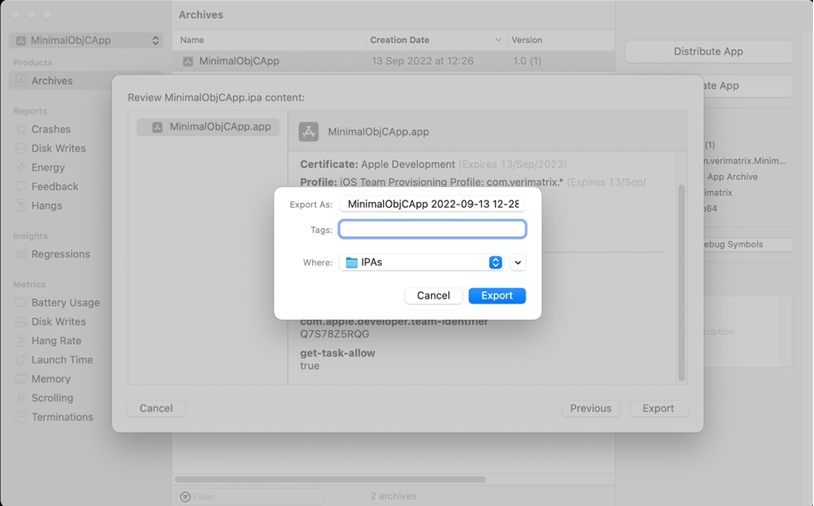
Finally, select a folder to save the IPA file to.
Updated 27 days ago